Contents
Did you know that timely intervention can significantly reduce flood damage? When faced with such an emergency, your first steps can make all the difference in preserving your property. You’ll want to assess the situation, shut off utilities, and extract any standing water. But what comes next might not be as straightforward as you think. Understanding the nuances of drying out your space and preventing mold can be crucial. This is where emergency flood repair becomes essential for effective recovery. Let’s explore these essential techniques and what they entail for a successful recovery.
Key Takeaways
- Conduct a thorough inspection to assess water damage, noting affected areas and types of water intrusion for effective repair planning.
- Shut off utilities such as electricity, water, and gas to ensure safety during the emergency repair process.
- Use appropriate water extraction methods like submersible pumps or wet/dry vacuums to remove standing water quickly.
- Dry affected areas using commercial-grade fans and dehumidifiers to prevent mold growth within 48 hours.
- Document damage and salvageable items for insurance claims while prioritizing valuable belongings for restoration.
Assessing Water Damage
Assessing water damage requires a systematic approach to ensure you accurately identify the extent of the issue. Start by conducting a thorough visual inspection of the affected area. Look for signs of water intrusion, such as discoloration on walls, sagging ceilings, or warped flooring. Document these observations, as they’ll be crucial for your water damage assessment.
Next, utilize moisture detection techniques to gather precise data about the moisture levels in materials. You can use tools like moisture meters or infrared cameras. Moisture meters allow you to measure the moisture content in wood, drywall, or other materials, helping you pinpoint hidden water damage.
Infrared cameras, on the other hand, can reveal temperature differences that indicate moisture presence behind walls or ceilings.
Once you’ve gathered data, evaluate the severity of the damage. Categorize the water type: clean, gray, or black water. This classification will inform your next steps and necessary safety precautions. Additionally, consider the duration of exposure; the longer materials remain wet, the more deterioration occurs.
Finally, prioritize areas that need immediate attention. Focus on structural elements and materials that pose health risks, such as mold growth or compromised integrity.
Shutting Off Utilities
Before you begin any flood repair work, it’s crucial to shut off utilities to prevent further damage and ensure safety. By following proper utility disconnection procedures; you can minimize risks related to electrical hazards, gas leaks, and water flow.
First, locate your main electrical panel and flip the main circuit breaker to the “off” position. This step stops the flow of electricity throughout your home, safeguarding you from electrical shocks during repairs.
Next, address water utilities. If flooding has compromised your water supply, turn off the main water valve to prevent additional flooding or contamination. This action protects your living space and your health.
After handling water and electricity, it’s essential to disconnect any gas lines. Locate your gas meter and follow the manufacturer’s guidelines for shutting off the gas supply. If you’re unsure, contact your gas provider for assistance; they can guide you through the emergency power management process safely.
Once you’ve securely shut off these utilities, it’s wise to inform your utility providers about the situation. They can offer support and ensure everything is restored safely after repairs.
Remember, proper utility disconnection procedures are vital for both immediate safety and long-term recovery. By taking these steps, you protect yourself and create an environment where you can effectively address the aftermath of flooding.
Prioritizing safety will help you regain control and move forward with the necessary repairs.
Extracting Standing Water
With utilities safely disconnected, the next step is extracting standing water from your property. You’ll want to act quickly, as standing water can lead to structural damage and mold growth.
Start by assessing the volume of water present. For smaller areas, you might use a wet/dry vacuum, which is effective for water removal techniques in limited spaces. Make sure to empty the vacuum frequently to maintain its suction power.
For larger volumes of water, consider pump options. Submersible pumps are highly effective for removing significant amounts of water quickly. Position the pump in the deepest area of your flooded space. Connect a discharge hose to direct the water away from your home, ensuring it doesn’t return to your property. If you don’t have access to a submersible pump, a utility pump can also work, though it may take longer to clear the area.
As you extract the water, keep safety in mind. Wear waterproof boots and gloves, and be cautious of debris or contaminants in the water. If the floodwater is murky or contains chemicals, wearing a mask and goggles is advisable.
Once you’ve removed the bulk of the water, you can begin to tackle smaller puddles and damp areas. Combining various water removal techniques, like mopping and using towels, can help achieve optimal dryness.
Drying and Dehumidifying
After extracting standing water, drying and dehumidifying your space becomes crucial to prevent further damage. Effective drying is essential to mitigate mold growth and structural deterioration.
Start by employing drying equipment such as commercial-grade fans and dehumidifiers. These tools are designed to significantly speed up the drying process and help maintain optimal humidity levels.
You can utilize several dehumidifying techniques to enhance efficiency. First, strategically position your fans to create airflow across wet surfaces. This circulation helps evaporate moisture more rapidly.
Next, set up dehumidifiers in areas with the highest humidity. These machines work by drawing in moist air, cooling it, and extracting the water before releasing drier air back into the environment.
It’s also important to monitor humidity levels regularly. Ideally, you want to maintain indoor humidity below 60%. Investing in a hygrometer can help you track your progress effectively.
If you notice persistent dampness or high humidity, consider increasing the power or number of dehumidifying units you’re using.
Keep in mind that drying takes time, and rushing the process can lead to further complications. Generally, it’s best to aim for a complete dry-out within 48 hours. This timeframe minimizes the risk of mold growth and promotes a healthier living environment.
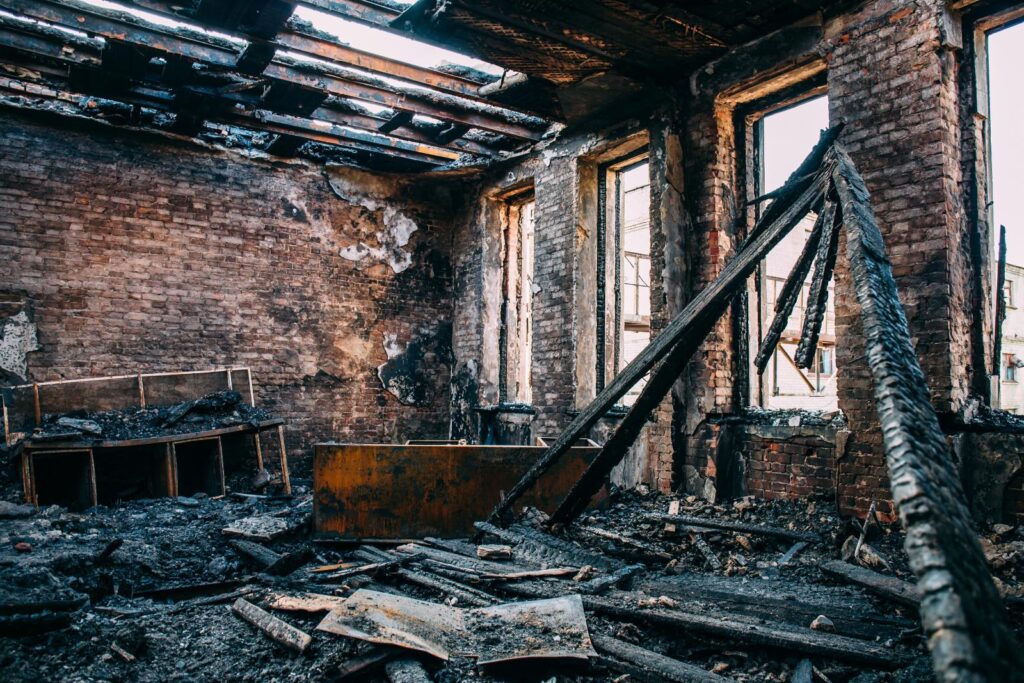
Inspecting Structural Integrity
When inspecting structural integrity after a flood, start with a visual damage assessment to identify any visible signs of deterioration.
Next, check the load-bearing components to ensure they can support the building’s weight safely.
Finally, evaluate the foundation’s stability, as any compromise here can lead to significant structural issues.
Visual Damage Assessment
Visual damage assessment plays a critical role in determining the structural integrity of a building following a flood. During this process, you’ll conduct a thorough visual inspection to identify any visible signs of damage.
Look for cracked walls, sagging ceilings, or warped floors, as these can indicate underlying issues that may compromise safety.
As you evaluate the building, it’s essential to document all damage meticulously. Accurate damage documentation aids in repair planning and serves as crucial evidence for insurance claims.
Note the extent of water exposure, any mold growth, and the condition of fixtures and finishes.
Pay special attention to areas like the foundation and roof, as these are often the most affected by flooding.
If you spot any severe damage, it’s wise to consult a structural engineer for a more in-depth evaluation.
Load-Bearing Components Check
Following your visual damage assessment, it’s important to focus on the load-bearing components of the structure. These elements are crucial for maintaining the integrity and safety of your building. Check for any signs of distress in load-bearing materials such as beams, columns, and walls. Look for cracks, warping, or water damage that could indicate a need for structural modifications.
Here’s a quick reference table to guide your inspection:
| Load-Bearing Component | Signs of Damage | Recommended Action |
|---|---|---|
| Beams | Cracks, sagging | Consult a structural engineer |
| Columns | Bowing, rust | Reinforce or replace |
| Walls | Cracks, bulging | Assess for structural support |
| Foundation | Settling, shifting | Monitor, consider underpinning |
| Roof Trusses | Sagging, water damage | Inspect and repair as needed |
Foundation Stability Evaluation
A thorough evaluation of your foundation’s stability is essential after a flood, as it directly impacts the structural integrity of your entire building. You should start by employing reliable foundation inspection methods to identify any visible cracks, settling, or heaving. These indicators can signal potential structural issues that need immediate attention.
Next, consider utilizing stability assessment techniques, such as a soil compaction test, to evaluate the ground beneath your foundation. This test can reveal if the soil has been compromised due to water saturation, which could lead to further instability.
Additionally, using laser leveling tools can help you determine if your foundation has shifted.
Don’t forget to check for plumbing leaks or moisture accumulation, as these can exacerbate foundation problems. If you detect any significant issues during your inspection, it’s advisable to consult a structural engineer. They can provide expert analysis and recommend appropriate repair solutions tailored to your specific situation.
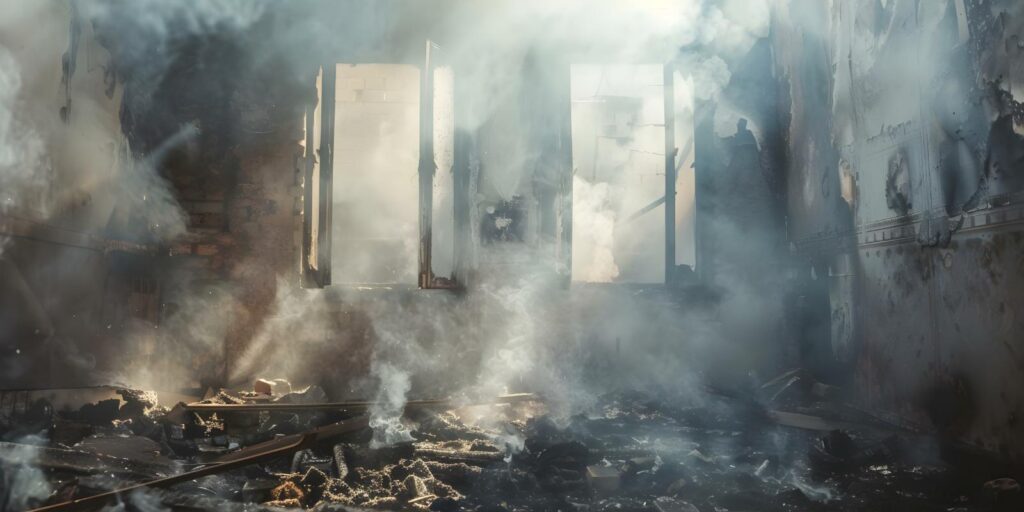
Cleaning Contaminated Areas
Cleaning contaminated areas after a flood is crucial to prevent health hazards and structural damage. The first step is to assess the extent of contamination on surfaces. You’ll want to identify areas that have been in contact with floodwater, as these contaminated surfaces may harbor bacteria, mold, and other harmful pathogens.
Once you’ve identified the affected areas, it’s time to implement effective sanitation procedures. Start by removing all standing water using pumps or wet vacuums.
After that, dispose of any porous materials like carpets or drywall that can’t be adequately cleaned, as they can retain contaminants and promote mold growth.
Next, focus on cleaning non-porous surfaces. Use a solution of water and detergent to scrub these areas, followed by a sanitizing solution, such as a mixture of bleach and water (following the manufacturer’s recommendations).
Make sure to wear protective gear, including gloves and masks, as you work to minimize health risks.
Don’t forget to ventilate the area. Open windows and use fans to help circulate air, which will aid in drying and further reduce the chances of mold growth.
After cleaning, monitor the situation regularly. If you notice any signs of mold or lingering odors, take immediate action.
Salvaging Personal Belongings
When floodwaters recede, your first step is to assess the condition of your personal belongings.
Act quickly to prioritize items that can be cleaned or restored, as time is critical in preventing further damage.
Follow specific cleaning and restoration tips to maximize the chances of salvaging important possessions.
Immediate Actions to Take
In the aftermath of a flood, promptly assessing the damage to your personal belongings is crucial for maximizing recovery. Start by gathering your emergency supplies, including gloves, masks, and waterproof containers. Ensure you follow safety protocols—wear protective gear to avoid exposure to contaminated water and debris.
Begin your evaluation in the least affected areas, moving systematically through your home. Prioritize items that hold significant sentimental or monetary value, such as photographs, documents, and electronics. If water has soaked through belongings, immediately remove them from affected areas to prevent further damage.
For larger items, like furniture, check for structural integrity before attempting to move them. If you can salvage any items, rinse them with clean water to remove contaminants, then dry them as quickly as possible. Remember, mold can develop within 24-48 hours, so time is of the essence.
Document the damage by taking photos for insurance purposes. This step is vital for claiming any losses. Lastly, keep a list of salvaged items and their condition, as this will help you stay organized during recovery efforts.
Cleaning and Restoration Tips
After assessing the damage, your next step is to focus on cleaning and restoring your personal belongings to minimize loss.
Quick action is crucial, especially if you have flood insurance that can help cover some of the costs. Start by gathering emergency supplies to safely clean your items.
Here’s a list of essential steps you should take:
- Document everything: Take photos for insurance claims and personal records.
- Remove excess water: Use pumps or wet vacs to eliminate standing water.
- Clean and disinfect: Use a mixture of water and bleach to sanitize surfaces and belongings.
- Dry thoroughly: Use fans and dehumidifiers to prevent mold growth.
- Assess salvageability: Decide which items can be restored and which need disposal.
Mold Prevention Strategies
Mold thrives in damp environments, making effective prevention strategies crucial after a flood. To protect your home and health, you’ll need to implement specific mold prevention measures immediately.
Start by removing any standing water and drying out affected areas within 24 to 48 hours. Use fans, dehumidifiers, and ventilation to promote airflow and help eliminate excess moisture.
Next, focus on moisture control methods. Inspect your home for leaks or areas where water could accumulate, such as basements, attics, and around windows. Fix any issues promptly to prevent mold spores from taking root.
It’s also wise to use mold-resistant products when repairing your home, including paints and building materials designed to inhibit mold growth.
Another effective strategy is to maintain indoor humidity levels below 60%. You can achieve this by using air conditioning and regularly checking the humidity with a hygrometer. If humidity is too high, consider investing in a dehumidifier for additional moisture control.
Regular cleaning is essential. Use mold remediation techniques, such as diluted bleach solutions or specialized mold cleaners, on surfaces that are prone to dampness, like bathrooms and kitchens.
Don’t forget to clean and maintain gutters and downspouts to ensure proper drainage away from your home.
Professional Restoration Services
Professional restoration services play a vital role in effectively managing the aftermath of flood damage. When you face the chaos of a flooded home, these experts provide critical support, ensuring that you can regain a sense of normalcy. Their emergency response teams act swiftly, minimizing damage and preventing further complications.
Here are a few key benefits of relying on professional restoration services:
Rapid Response: They arrive quickly, often within hours, to assess and address the situation.
Expertise: Trained professionals understand the complexities of flood restoration, from water extraction to structural assessments.
Specialized Equipment: Advanced tools and technology help them effectively remove water and dry affected areas.
Safety Assurance: They prioritize your safety by identifying potential hazards, such as electrical risks or mold growth.
Insurance Navigation: Professionals help you navigate the insurance process, ensuring you receive the support you need.
Choosing a restoration service means you’re not alone in this overwhelming experience. These teams are dedicated to restoring your home and your peace of mind.
With their guidance, you can focus on what truly matters—rebuilding and moving forward. Remember, when floods strike, professional restoration services are your ally in the journey toward recovery.
Don’t hesitate to reach out for help; you deserve to reclaim your home and your life.
Documenting Damage for Insurance
Capturing the extent of flood damage is crucial for navigating the insurance claims process effectively. Proper damage documentation supports your claim and helps you get the compensation you deserve. Start by systematically assessing your property, focusing on both structural and personal belongings. Take clear, detailed photographs and videos, and make sure to capture dates and descriptions for each image.
Here’s a quick reference table to guide your documentation process:
| Type of Damage | Description | Evidence Required |
|---|---|---|
| Structural Damage | Walls, roof, foundation | Photos, videos, repair estimates |
| Content Damage | Furniture, electronics | Inventory list, receipts, photos |
| Mold or Mildew Growth | Areas affected post-flood | Photos, samples, professional reports |
After you’ve gathered your evidence, create a comprehensive report outlining the damage. Include your findings, photographs, and any repair estimates. This organized approach will streamline your insurance claims process and bolster your case.
Summary
Understanding emergency flood repair techniques is vital for effective damage control. It is important to be prepared and know how to respond quickly. By following the outlined steps—assessing damage, shutting off utilities, extracting water, and seeking professional help—you can significantly mitigate loss and ensure a safer environment for yourself and your loved ones during a flood emergency.